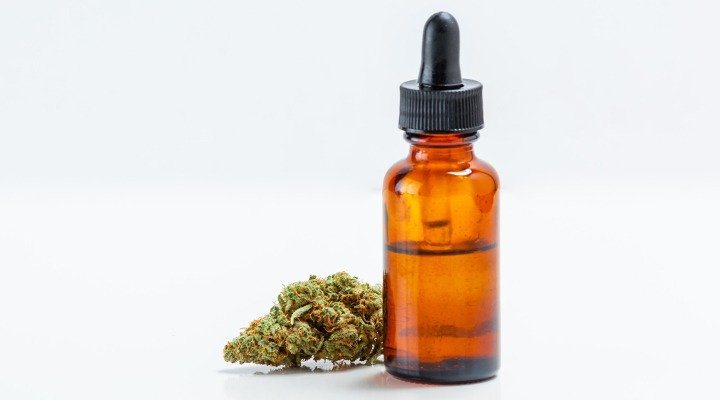
A Step-by-Step Guide to Making Medical Cannabis Oil Tincture
- Do you need access to medicinal cannabis?
- Could you be making full spectrum cannabis tinctures?
- Here, we provide a detailed, step by step guide to safely making your own cannabis oil tincture at home
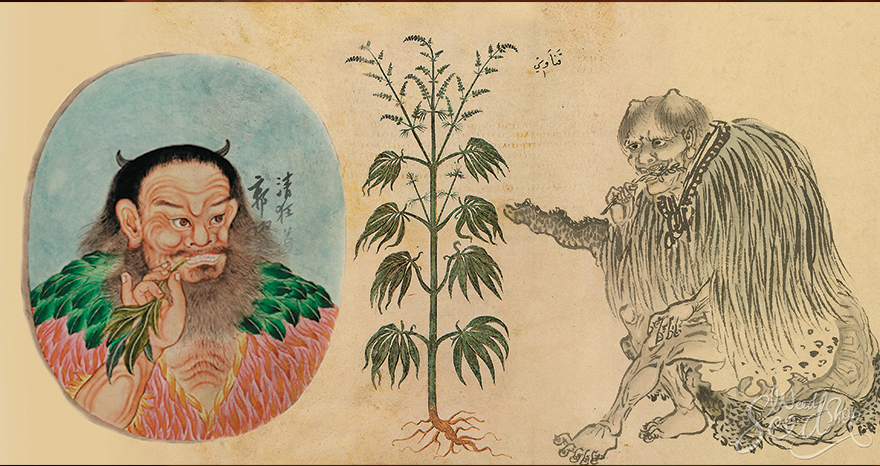
For thousands of years, long before pharmaceutical companies such as GW Pharmaceuticals or Tilray, communities across the globe have been using fats to make medical cannabis, using fats to extract a full spectrum of cannabinoids for a variety of medical purposes.
There are several good reasons why using fats to make tinctures, as opposed to smoking raw cannabis, is the best way to maximise the medical potential of cannabis.
Lipid fats act as ‘carriers’ for cannabinoids (the main chemical present in cannabis), allowing them to bind to our Endocannabinoids System (ECS), which have receptors to receive the cannabinoids.
Imagine cannabinoids are a key and the different receptors on the ECS are different key-holes, with each cannabinoid having a different purpose, e.g. THC is more ‘psychoactive’ than CBD, which primarily targets inflammation.
By extracting the cannabinoids into a lipid fat more of them are absorbed and bind to the ECS. Smoking cannabis causes combustion, which reaches a too high temperature, destroying the majority of cannabinoids present in the cannabis flower.
Firstly, fats aid cannabinoids to be absorbed into the bloodstream. Taken sublingually under the tongue, the cannabinoids go straight into the bloodstream, which helps them avoid degrading or combusting.
For example, taking cannabis tincture prevents THC being degraded into Delta 9 THC in the stomach, which has a far greater psychoactive effect than normal THC, which is created by smoking.
Secondly, it takes your body up to 6 to 8 hours to break down the fat molecules in the tincture, so the cannabinoids last in the bloodstream for far longer, thus far smaller dosages can be more effective than either smoking or a pure extract that can go through the digestive system more quickly.
It is easily possible to make cannabis tincture at home, following these basic steps.
*Tinctures can be made using any cannabis strain. A higher CBD lower THC strain is advisable for tinctures made for children with epilepsy.
Step 1. Decarboxylation
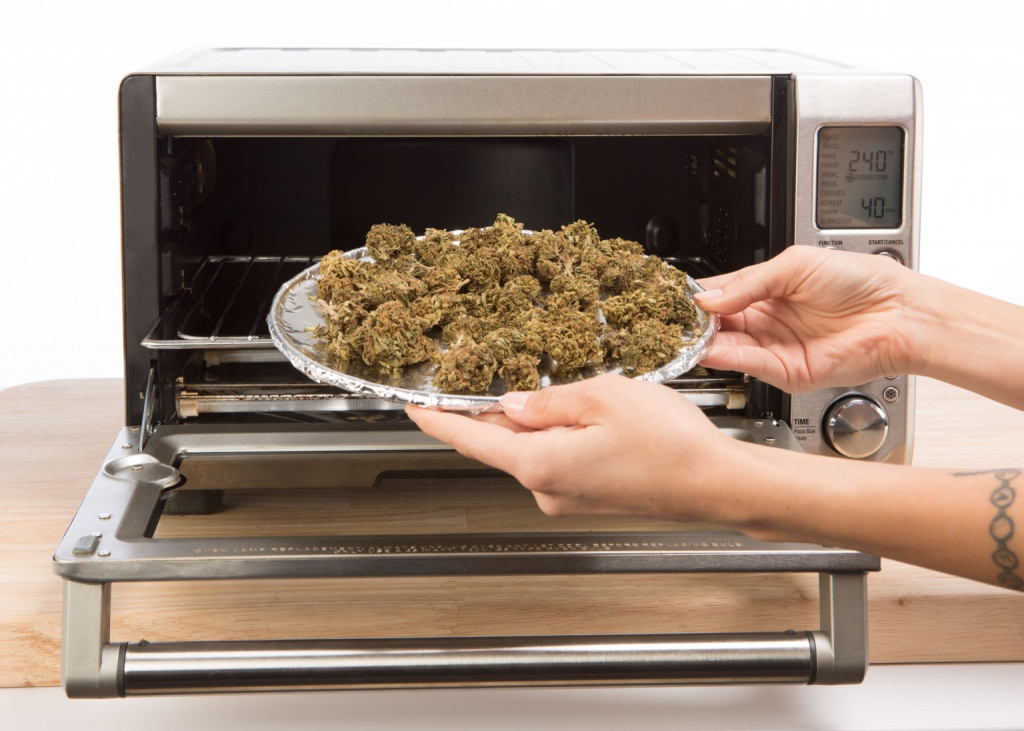
- Place dried ground up cannabis flower and leaves (must all be dried) in baking tray with a layer of tin foil loosely on top.
- Heat for 110 minutes at 110 C (110 x 110).
- Check temperature regularly with a thermometer, infrared if possible, moving the flowers around checking for any heat spots.
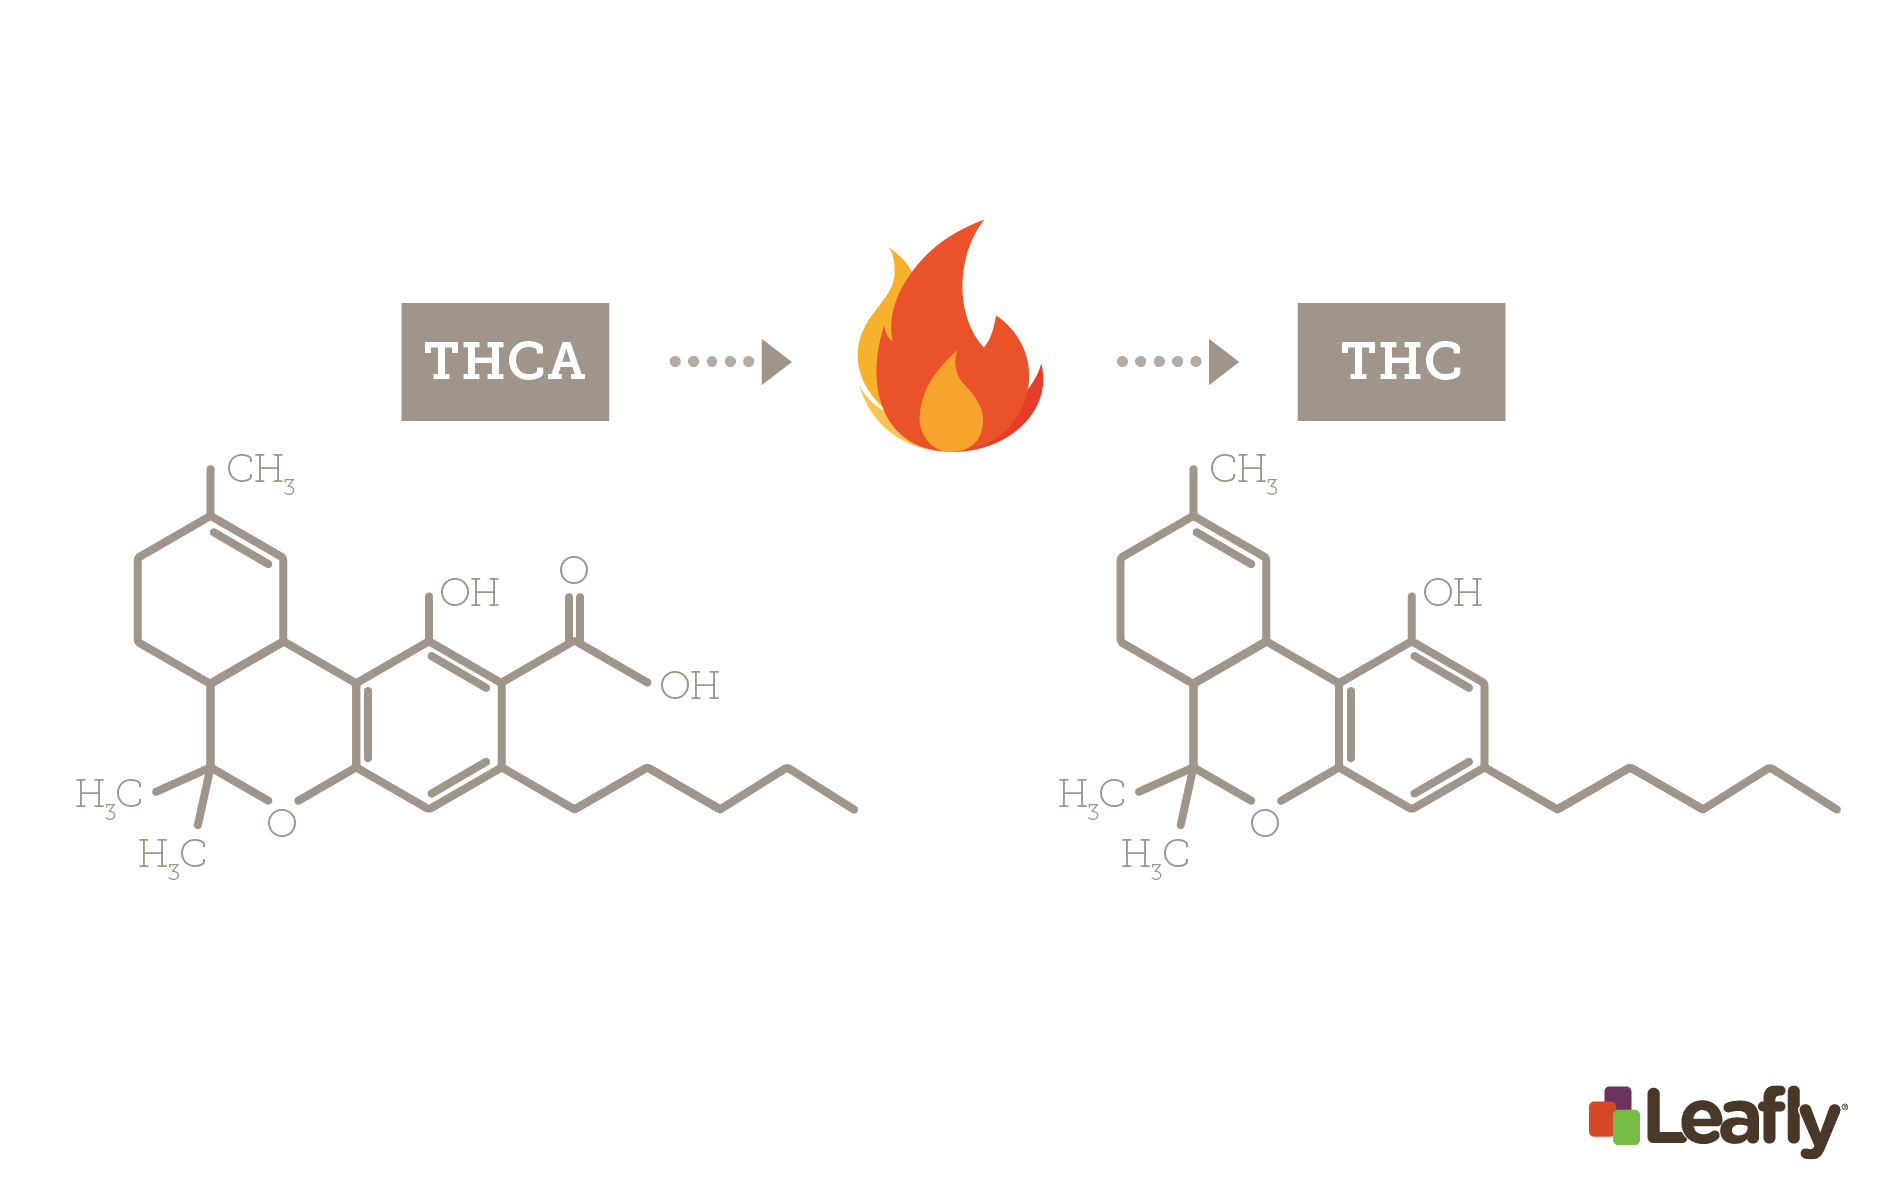
Heating at this temperature decarboxylates the cannabinoids and activates the THC, CBD and other cannabinoids, removing amino acids attached to the cannabinoids. THCa becomes THC. THCa is a non-psychoactive cannabinoid before decarboxylation.
*If one is wishing to make THCa tinctures for children start on step 2.
Step 2. Extraction
- Extract all of the cannabinoids and terpenes from the plant (full spectrum) using any type of lipid fat.
- Using large pot, mix plant material with any type of lipid fat, and cook at a low heat 40-50 c for 4-5 hours.
– Whilst heating, the cannabinoids will attach themselves to the fat molecules. - Stir regularly.
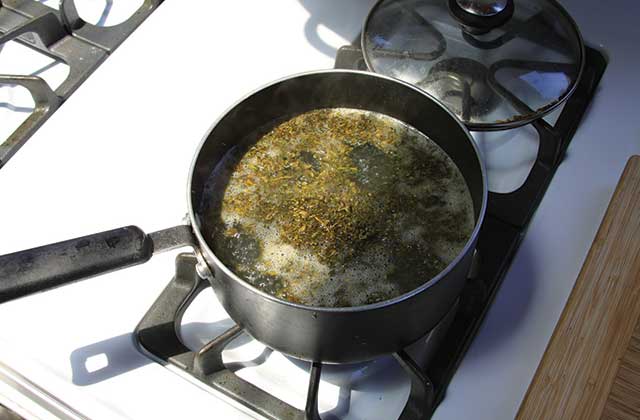
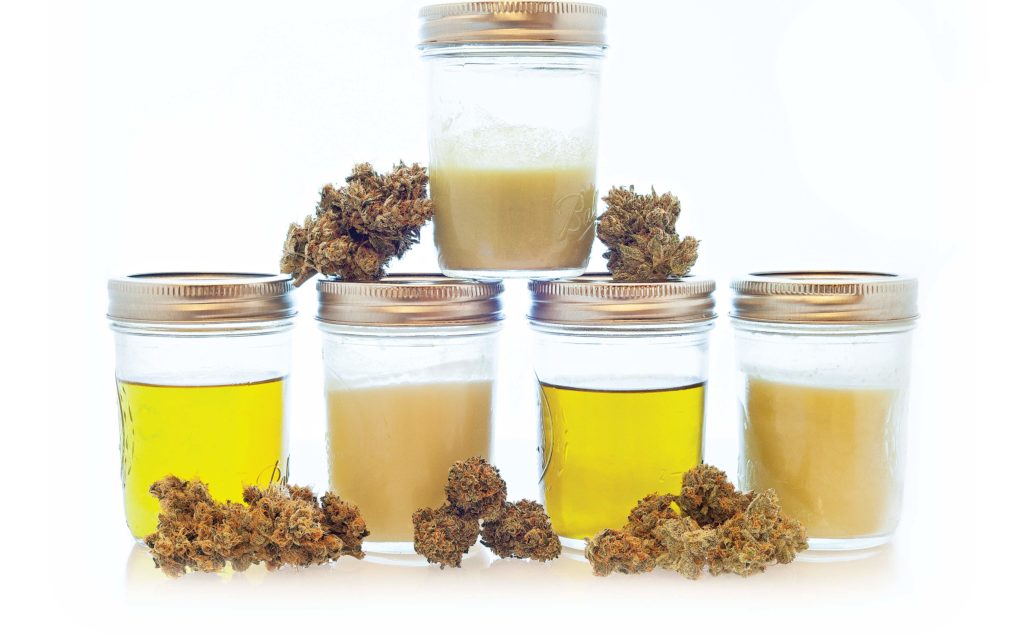
You can use any type of fat, for tinctures organic olive oil, MCT oil, hemp seed oil are all good, organic is even better. For capsules or topical creams, coconut fat is better for a more viscous end product.
Measurements can be 1-3 oz of dried flower for every 250 ml of fat, just make sure all material is submerged
Step 3. SEPARATION
- Using a muslin cloth, seive all the liquid fat into another pot removing all of the plant material and separating the liquid.
- Squeeze all of the fat with as much vigour out of the raw mulch and into the new pot.
– If you have a small wooden apple press you can get more out of mulch.
– Typically one should get 90% of available cannabinoids first bind.
The mulch can be extracted again separately following the above steps for but will produce a far lesser amount of cannabinoids, so can be used to make a weaker balm with cocofat.

Step 4. Further Herbs
- Put a new pot back on low heat for a further 1 hour.
- At this time one can add further therapeutic herbs in the form of essential oils.
Many have found adding frankincense, cinnamon and myrrh useful. - From essential oils one drop of each for every 25 ml is adequate.
If you are making this for someone else check if they are suited to whatever you are adding. Again, organic oils are preferred but any lipid fat will work.
Step 5-Bottle
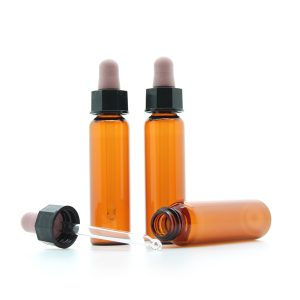
- Sterilise all bottles and pour carefully into them before sealing. It’s best to use measuring basters when filling bottles.
- Pour into 10 ml or 30 ml Glass “dropper bottles,” which can be bought cheaply on eBay, Amazon, etc.
You may also want to have your cannabis medicine tested to find out the exact amount of cannabinoids you managed to extract. These test also show information on any possible contaminants and pesticides, e.g. https://www.fundacion-canna.es/en.
If you follow above, you have now extracted the full spectrum profile of whatever cannabis plant you have used as your base. If you are growing Candida CD1 then this may be useful for children with epilepsy or autism and is not pyschoactive.
CD1 has a cannabis profile with some THC as opposed to a hemp profile, which has on average 0.1-0.2%.
Cannabis oil made using these steps, and with CD1, is not the same as CBD oil derived from hemp. A hemp strain will have typically have 4-7% CBD as opposed to Candida CD1 which averages 18%.
To find out a dosage of MGs of cannabinoids, just divide CBD or THC percentage by 10 so if one has a CBD strain with 20% CBD and 1% THC, A typical fat extraction of that strain will have 2% CBD and 0.1 % THC, this translates as 20mgs of CBD and 1mg of THC per ml.

For full biodynamic, do the whole process over a full or new moon.
